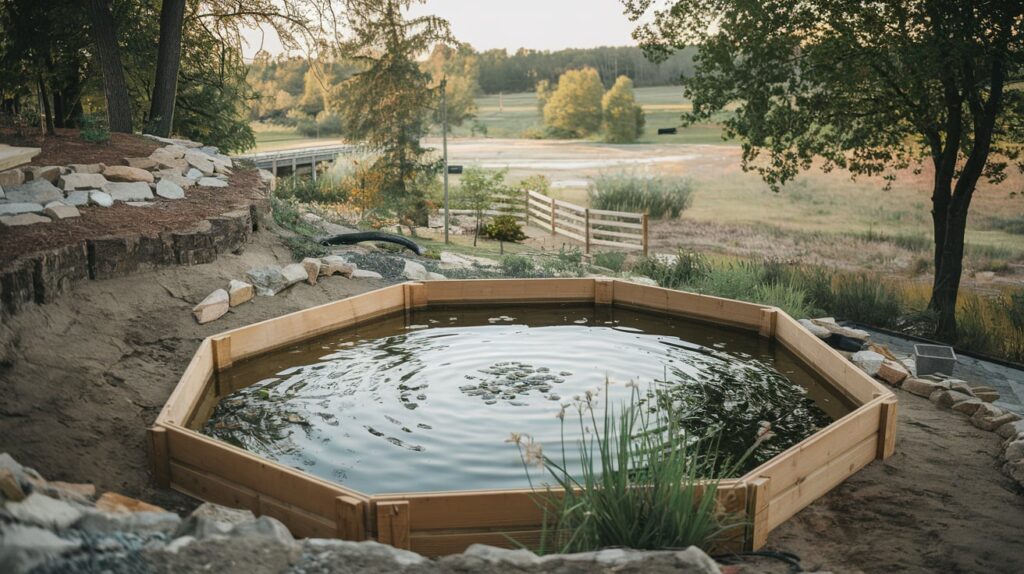
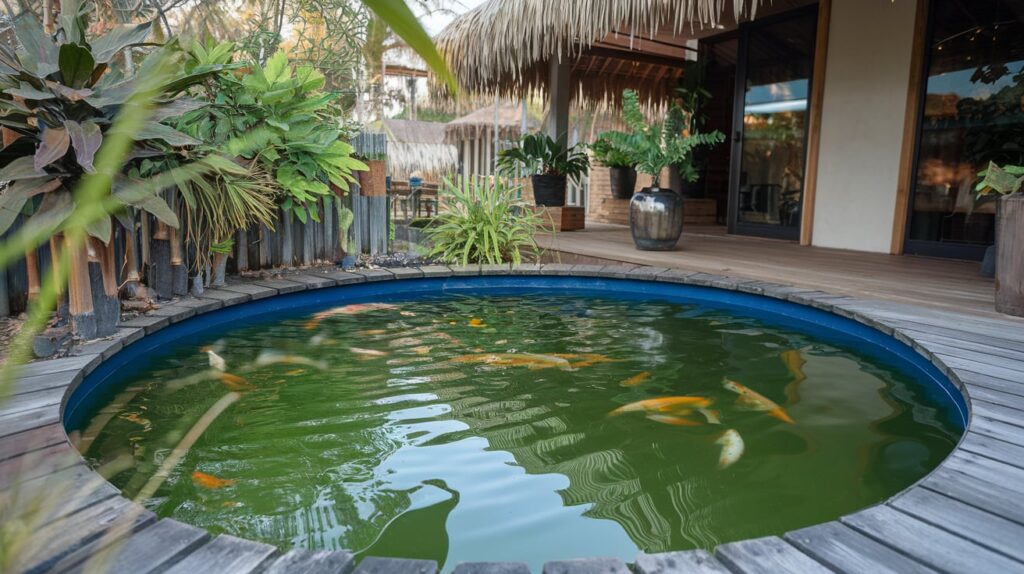
Building a raised fish pond is a rewarding project that not only transforms your outdoor space but also provides a stunning habitat for a variety of fish and aquatic plants. Imagine stepping into your backyard and being greeted by the tranquil sound of water bubbling gently in your very own raised fish pond.
In this guide, you’ll discover all the essential steps to create an enchanting raised fish pond, from selecting the perfect location and materials to expertly assembling the structure and maintaining a thriving ecosystem. Get ready to roll up your sleeves and dive into a captivating DIY adventure that brings a slice of serenity to your doorstep.
Have you ever thought about building a raised fish pond in your backyard? Imagine having a stunning water feature that adds beauty and tranquility to your outdoor space! Not only does a raised pond elevate the aesthetic appeal of your garden, but it also provides a wonderful habitat for fish and aquatic plants.
What is a Raised Fish Pond?
A raised fish pond, as the name suggests, is a pond that is elevated above ground level. Unlike traditional in-ground ponds, a raised fish pond is built using supportive structures that keep it elevated, offering several advantages, including easier maintenance, better protection from critters, and enhanced visibility.
Benefits of a Raised Fish Pond
Before you get started, let’s explore some of the compelling reasons why you should consider building a raised fish pond.
Enhanced Visual Appeal
Having a raised fish pond means you can add a unique architectural element to your garden. The elevated design can serve as a focal point, capturing the attention of anyone who visits your backyard.
Improved Accessibility
Unlike in-ground ponds, raised ponds are easier to maintain since you don’t have to bend over or kneel to access them. This is especially beneficial if you have mobility issues or simply prefer a more comfortable maintenance routine.
Greater Control Over Environment
With a raised fish pond, you can better control the environment for your fish. Elevated ponds are less likely to be affected by ground contaminants, and you can easily incorporate water filters and other equipment.
Flexibility in Design
Whether you prefer a formal or informal look, raised fish ponds offer greater flexibility in design and can be adapted to fit various garden styles. From sleek, modern designs to rustic brick-lined ponds, the possibilities are endless.

Planning Your Raised Fish Pond
Embarking on this project begins with careful planning. Here are key considerations to help you create the perfect raised fish pond.
Choosing the Location
Choosing the right location for your raised fish pond is crucial. Consider the following factors:
- Sunlight: Ensure your pond gets sufficient sunlight while also having some shaded areas.
- Proximity to Power Sources: You’ll need electrical outlets for pumps and filters.
- Accessibility: Make sure it’s in a location that is easy to access for feeding fish and maintenance.
- Visibility: Place it where you can enjoy it from inside your home and outdoor seating areas.
Pond Size and Depth
The size and depth of your pond will depend on the space available, the type and number of fish you plan to keep, and your aesthetic preferences.
| Fish Type | Minimum Pond Depth | Recommended Pond Size |
|---|---|---|
| Goldfish | 18-24 inches | 50-100 gallons |
| Koi | 36-48 inches | 200-500 gallons |
| Tropical Fish | 12-24 inches | 30-50 gallons |
Design and Materials
Consider the design and materials for constructing your pond. Here are some popular options:
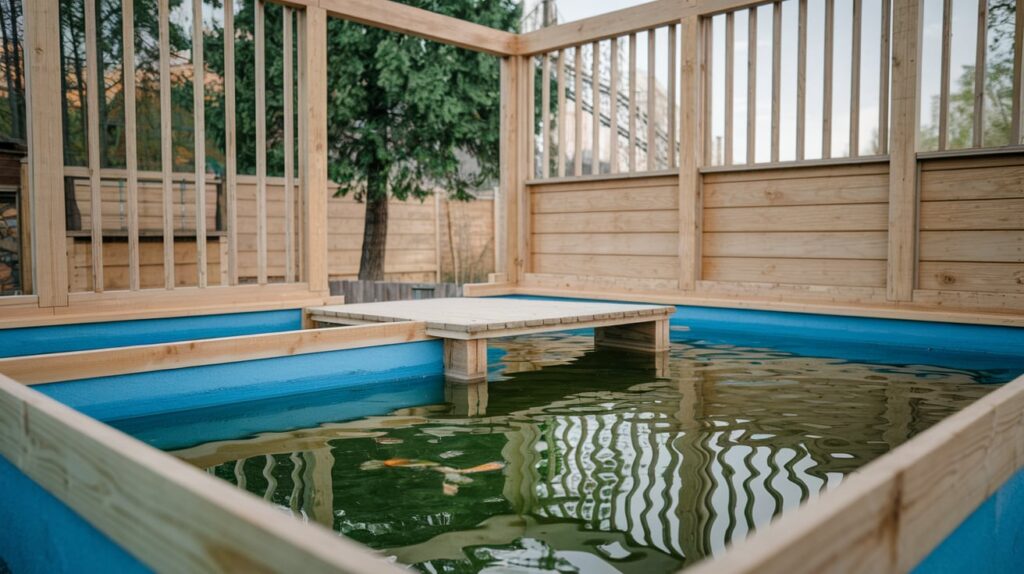
- Wooden Frame: Creates a natural look but needs to be treated to withstand water.
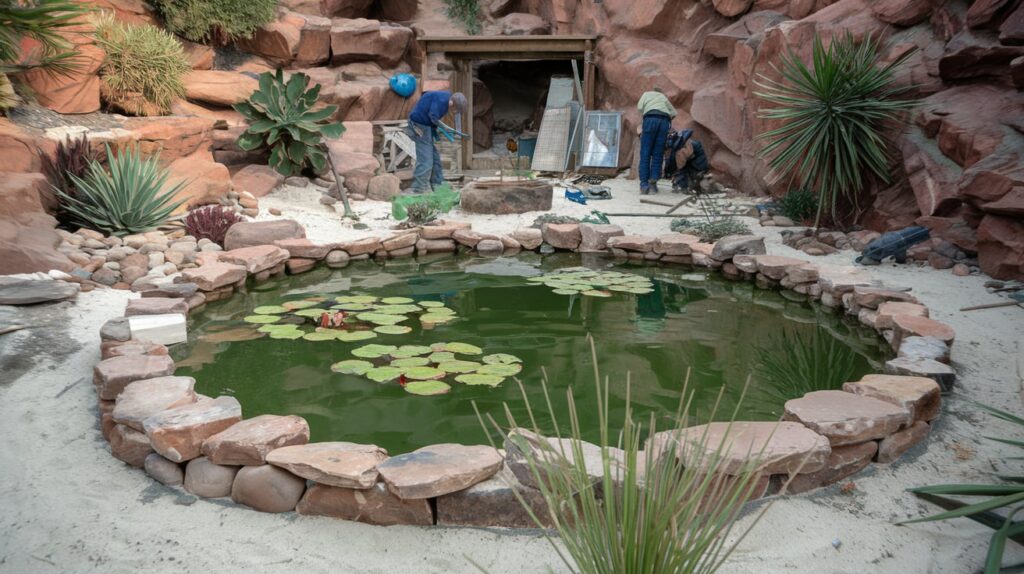
- Brick or Stone: Offers durability and a classic aesthetic.
- Preformed Liners: Made of hard plastic, these are easy to install and maintain.
Budget and Timeline
It’s important to set a realistic budget and timeline for your project. Factor in costs for materials, fish, plants, and maintenance equipment. Keep some buffer for unexpected expenses.
Building Your Raised Fish Pond: Step-by-Step Guide
Step 1: Gather Your Materials
Before starting, make sure you have all the necessary materials and tools. Here’s a basic list:
- Wooden planks or bricks/stone for the structure
- Pond liner
- Water pump and filter
- Tubing and connectors
- Gravel and rocks
- Aquatic plants
- Fish
Step 2: Construct the Frame
Wooden Frame:
- Measure and Cut: Measure the area and cut the wooden planks to the desired length.
- Assemble: Use screws and brackets to assemble the frame. Ensure it’s level and stable.
- Treat the Wood: Apply a water-resistant sealant to protect the wood from rot.
Brick/Stone Frame:
- Lay the Foundation: Create a solid base using concrete blocks.
- Stack the Bricks/Stones: Start stacking the bricks or stones, using mortar to secure them in place.
- Ensure Stability: Check for alignment and stability as you go.
Step 3: Install the Pond Liner
- Cut the Liner: Cut the pond liner to match the dimensions of your pond, leaving some excess material for securing around the edges.
- Place the Liner: Gently place the liner inside the frame, smoothing it out to avoid wrinkles.
- Secure the Edges: Fold the excess liner over the edges of the frame and secure it with heavy stones or clips.
Step 4: Install the Pump and Filter
- Position the Pump: Place the water pump at the lowest point of the pond.
- Connect the Tubing: Attach the tubing to the pump and run it to the filter and back into the pond.
- Test the Pump: Turn on the pump to ensure everything is working properly and there are no leaks.
Step 5: Add Gravel, Rocks, and Plants
- Gravel Layer: Add a layer of gravel at the bottom of the pond. This helps anchor plants and provides a habitat for beneficial bacteria.
- Place Rocks: Strategically place rocks to create hiding spots for fish and decorative elements.
- Planting: Add aquatic plants in and around the pond. They provide oxygen, reduce algae, and add beauty.
Step 6: Filling the Pond
- Slowly Fill with Water: Fill the pond slowly to avoid disturbing the liner and gravel.
- Dechlorinate: Use a water conditioner to remove chlorine from tap water, which can be harmful to fish.
Step 7: Introducing Fish
- Acclimatise the Fish: Float the fish in their bag in the pond water for about 20-30 minutes to acclimate them to the new temperature.
- Release the Fish: Gently release the fish into the pond and monitor them closely for the first few days.

Maintaining Your Raised Fish Pond
Regular maintenance is essential to keep your pond healthy and beautiful. Here are some tips:
Water Quality
Maintaining good water quality is crucial for the health of your fish and plants. Regularly test the water for pH, ammonia, nitrites, and nitrate levels.
Cleaning the Pond
Regularly remove debris and dead leaves from the pond. Clean the pump, filter, and tubing every few weeks to ensure they are functioning properly.
Feeding the Fish
Feed your fish in moderation, as overfeeding can lead to poor water quality. Follow the recommended feeding guidelines for the species you keep.
| Fish Type | Feeding Frequency | Recommended Food Types |
|---|---|---|
| Goldfish | Twice daily | Flakes, pellets, vegetables |
| Koi | Once or twice daily | Pellets, treats (e.g., shrimp) |
| Tropical Fish | Once or twice daily | Flakes, pellets, frozen food |
Seasonal Care
Different seasons bring different challenges. During winter, fish metabolism slows down, so reduce feeding and ensure the pond doesn’t freeze completely. In summer, monitor for algae growth and make sure there is adequate aeration.
Troubleshooting Common Issues
Even with the best care, you may encounter some issues with your raised fish pond. Here’s how to troubleshoot common problems:
Algae Growth
Algae can turn your beautiful pond into an eyesore. Control algae by adding more aquatic plants that compete for nutrients, or use an algaecide if necessary.
Fish Health
Keep an eye on your fish for signs of illness, such as changes in behavior, appetite, or appearance. Isolate sick fish and consult a specialist if needed.
Water Evaporation
Raised ponds can lose water more quickly due to evaporation. Top up the pond regularly and consider installing a shade structure to reduce direct sunlight exposure.

Enhancing Your Raised Fish Pond
Once your pond is established, there are many ways to take it to the next level.
Adding Lighting
Underwater and perimeter lighting can make your pond look magical at night. Solar lights are an eco-friendly option.
Incorporating a Waterfall or Fountain
Adding a waterfall or fountain enhances the auditory and visual appeal while improving aeration.
Decorating with Statues and Ornaments
Add personality with garden statues, ornaments, and even floating lily pads. Just ensure they are safe for your fish.
FAQs About Raised Fish Ponds
How Much Does It Cost to Build a Raised Fish Pond?
The cost can vary widely depending on the size, materials, and additional features you choose. On average, a small to medium-sized pond may cost between $500 and $2000.
Can You Keep Koi in a Raised Pond?
Yes, you can keep koi in a raised pond as long as it meets the depth and volume requirements. The pond should be at least 3 feet deep and hold a minimum of 200 gallons.
How Often Should I Clean My Pond?
While basic cleaning, like removing debris, can be done weekly, a more thorough clean, including pump and filter maintenance, is recommended every 4-6 weeks.

Conclusion
Building a raised fish pond is a rewarding project that can bring beauty, relaxation, and even ecological benefits to your garden. With careful planning and regular maintenance, your pond will be a thriving oasis for fish and plants. Enjoy the serene sounds of water, the vibrant colors of fish, and the lush greenery that come with your new water feature. Happy building!
